
Fire Emblem: Fortune's Weave Prologue Walkthrough
Fire Emblem: Fortune's Weave is a massive game. It is also a complex game. There's a lot to wrap your head around, and a lot of choices to make. We're here to help.
As with the other walkthroughs on RPG Site, this is more of a minimalist bullet-point guide for those who don't want to dive into a dense, lengthy walkthrough, but also for those who don't want to miss anything that will prevent you from getting missables and items. Think of this like a friend: not stepping you through every single action in the game, but offering you a guiding hand along the way.
What this walkthrough will do:
- Offer a minimalist walkthrough so you know what you need to do at any point in the game.
What the walkthrough will not do:
- Offer anything more than the most rudimentary strategies for bosses.
RPG Site's walkthrough for Fire Emblem: Fortune's Weave will be separated by Parts in the game. This page is a walkthrough only for the short Prologue section of the game. If you are looking for a Part I or later walkthrough, please check out the following links:
- Part I: Cai's Path
- Part I: Dietrich's Path
- Part I: Theodora's Path
- Part I: Leda's Path
- Part II: War
- Part III: Salvation (in progress)
The Prologue itself is quite short compared to other sections, with only two combat encounters. Everyone starts at the same place, however. Read on as you step into your adventure.
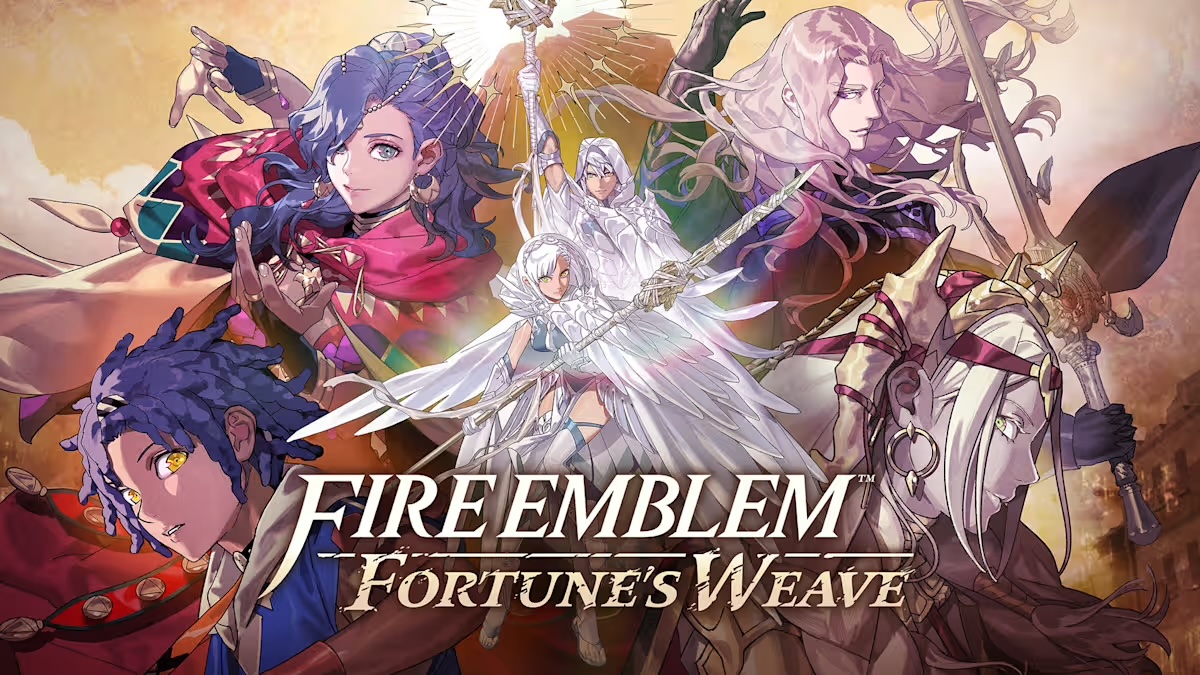
Prologue - Descent Chapter 1 - The White Bird
- After several opening scenes, you'll be given the option to choose Normal or Hard Mode. This can be changed later if desired.
- You'll also be given an option to choose between Casual (no permadeath) and Classic (permadeath) modes. This can also be changed later.
- You'll then create the avatar character, Eshmel. You can choose between Type A (male) and Type B (female) forms, alongside skin tone, hairstyle, hair color, and five different outfits. You can also change their name, if desired.
- After this, Fortuna will ask you about "insects and the like". This is an arachnophobia setting. Choose "I can't stand to see them." if you want to turn the arachnophobia setting on, so that some insect enemies appear differently. This can be changed later in the settings.
- After a few more scenes, you'll be in Combat Training.
Combat Training
- You can choose to skip the training, but I suggest just doing it. It's quick.
- Note: The stat level-ups obtained during training don't matter long-term, as they are just for training purposes.
- After some initial training, the game will ask if you want to try mouse controls. Choose what you'd like.
- After several training stages, several cutscenes will take place. You'll be in your first real battle.
- During training, you may see some pop-ups for in-game achievements. These are Notable Deeds, which are similar to the achievement system in Fire Emblem: Engage. These can be used for bonuses later on, and you can check out our Fire Emblem: Fortune's Weave Notable Deeds and Boons of Salvation Guide for more details.
[Combat] - Descent
- Victory: Defeat all of the enemy units.
- Defeat: Eshmel or Hong Hua falls in battle.
- Strategy: As the tutorial battle, just follow along with the suggestions, such as using Hong Hua's magic against armored enemies and Eshmel's Blaze Art "Purifying Flash" against the cross formations.
- Notes:
- Blaze Arts are special Combat Arts that only certain characters can use. They cost HP to use.
- Don't get too attached to these characters just yet. While you get one more battle with them in the Prologue, they won't be around during the Heroic Games section in Part 1.
Prologue - Descent Chapter 2 - The Ruined Land
- This chapter starts with an exploration section. Go ahead and examine the gun-like object in front of you. It is a Salamander +3. which deals ranged magic damage. Hong Hua will use this in the next battle
- You now have to examine 3 of the 7 markers scattered around town in order to continue. One of the markers will give you Sandworm Meat, which is your first food item.
- Note: Don't fret too much about ensuring you pick up every single yellow orb at every opportunity throughout the game. These are usually common items, and you'll pick up literally hundreds during your playthroughs. Keep an eye out, but you won't miss out on anything crucial if you accidentally glance over a few.
- The other markers around the area just give some flavor text. You don't have to see all of them. Once you are ready, talk to Hong Hua to continue.
- After more scenes, when you gain control again, you'll be in Katarina. You can examine the tablet behind you for some strange world lore. Head forward when ready.
- You'll soon be in your first Clash, a sort of turn-based combat system new to Fortune's Weave. This is a tutorial, so just follow along.
- You'll now be in your first dungeon, called Heretics' Cave. In Part 1walthroughs, I'll go over dungeons more thoroughly, but for now, simply head through, fighting three Clashes and destroying objects for materials and items. Note that the materials you get in dungeons are semi-random.
- You can press Y to get a preemptive strike on an enemy, or to destroy barrels, crates, and crystals.
- Each dungeon has one Rest Spot. You can use this to make food to replenish HP and Magic (but not LP). Each character will heal by the HP sum of the items selected, as well as Magic uses if they are a magic user.
- Tip: Check the state of your party before using a rest spot so you know how much HP you need to heal.
- Each dungeon will have a certain number of treasure chests, listed in the upper right corner. Unlike the collectable items, chests always have the same contents.
- The one chest here will have Concoction.
- Leave the dungeon, and after more events, you'll be in control at Alcineus Span. Go ahead and examine the statues to learn about the 8 "Flame Lords" - Cai, Dietrich, Theodora, Leda, Bertrand, Talimun, Orchel, and Anatolia.
- Head to the other end of the bridge for a scene and your next battle.
[Combat] - Battle vs. Lind
- Victory: Defeat Lind
- Defeat: Eshmel, Hong Hua, or Troy falls in battle.
- Strategy: This is a tutorial battle, but feel free to take it slow. Use the heal spots to your advantage, and note that Hong Hua's Salamander deals a ton of damage (as it is based on her magic stat).
- Notes:
- Note that Troy can Heal by using the Assist option.
- Eshmel will do more damage with his Blaze Art than his standard attack on some enemies.
Obelisk Chamber
- After many more scenes and the game's opening movie, you'll be in the Obelisk Chamber. This is basically your home base throughout the game. Eventually, you'll be able to access all paths from all Parts from this chamber.
- Fortuna will explain that you'll need more forces to fight the enemy, which is where her 'causality' magic comes into play. You'll choose an Obelisk to play one of the character routes: Cai, Dietrich, Theodora, or Leda. This is Part I of the game.
- Note: While you can jump between routes as you play through them, it is actually to your advantage to play each route in full before moving to the next. The reason for this is that, once you complete a route, you can carry over some bonuses and exploration into your second route. You can't do this if you are jumping between them before finishing any. You can check out our Fire Emblem: Fortune's Weave Replay Guide for more details.
- Note: If you want, you can head out the Door of Destiny right now with just Eshmel, Hong Hua, and Troy. This will take you straight to Part III, but you won't stand a chance. You'll be given the option to retreat if you want to try it.
- You can 'replay' the Prologue at any time in order to change your difficulty setting, your Classic/Casual setting, or your Eshmel appearance. You can do this without losing progress in any path in the game. It does mean you have to replay the two Prologue battles, however.
- One final note on the Prologue: At the Shrine of Causality in the Obelisk Chamber, in the memories section, you may notice a few missing events in the Prologue. These events can only be seen when replaying the Prologue on a Clear Save, which will be a LONG time from now. So, don't worry about it at this point.
- Now that you are done with the Prologue, we have simple walkthroughs for each Part I Path. Choose whichever you'd like, and hopefully our guides will help you out.