
Fire Emblem: Fortune's Weave Dungeons - All Dungeons in the game, how to navigate them, and all Keys of the Diadem
One of the components in Fire Emblem: Fortune's Weave that's new compared to previous entries like Fire Emblem: Three Houses and Fire Emblem: Engage is the presence of dungeons. While dungeons have appeared in the series before, such as in Fire Emblem Echoes: Shadows of Valentia, the way they work has changed significantly.
Dungeons are found scattered throughout the Dagda World Map, and each will be labeled with a suggested average party level as well as material contents in the game's menu. Unlike Shadows of Valentia, where you encountered tactical battles within dungeons, now you experience combat as "Clashes", which are more like traditional turn-based encounters to some degree.
This page will outline some general information and tips about navigating dungeons in Fire Emblem: Fortune's Weave, followed by a list of all dungeons in the game.
The details below also show which dungeons in Part III hold a special item called a Key to the Diadem. These five key items are used to access the Diadem Temple to unlock the game's ultimate Divine Classes. These are found in Heretics' Cave, Enno Isle, Cougar Woodlands, Sand-Shadow Fort, and Giant's-Prints Fort. However, this only comes into play in Part III.
Fire Emblem: Fortune's Weave - Dungeon Tips and Tricks
First, here are some general tips to keep in mind while exploring dungeons in the game.
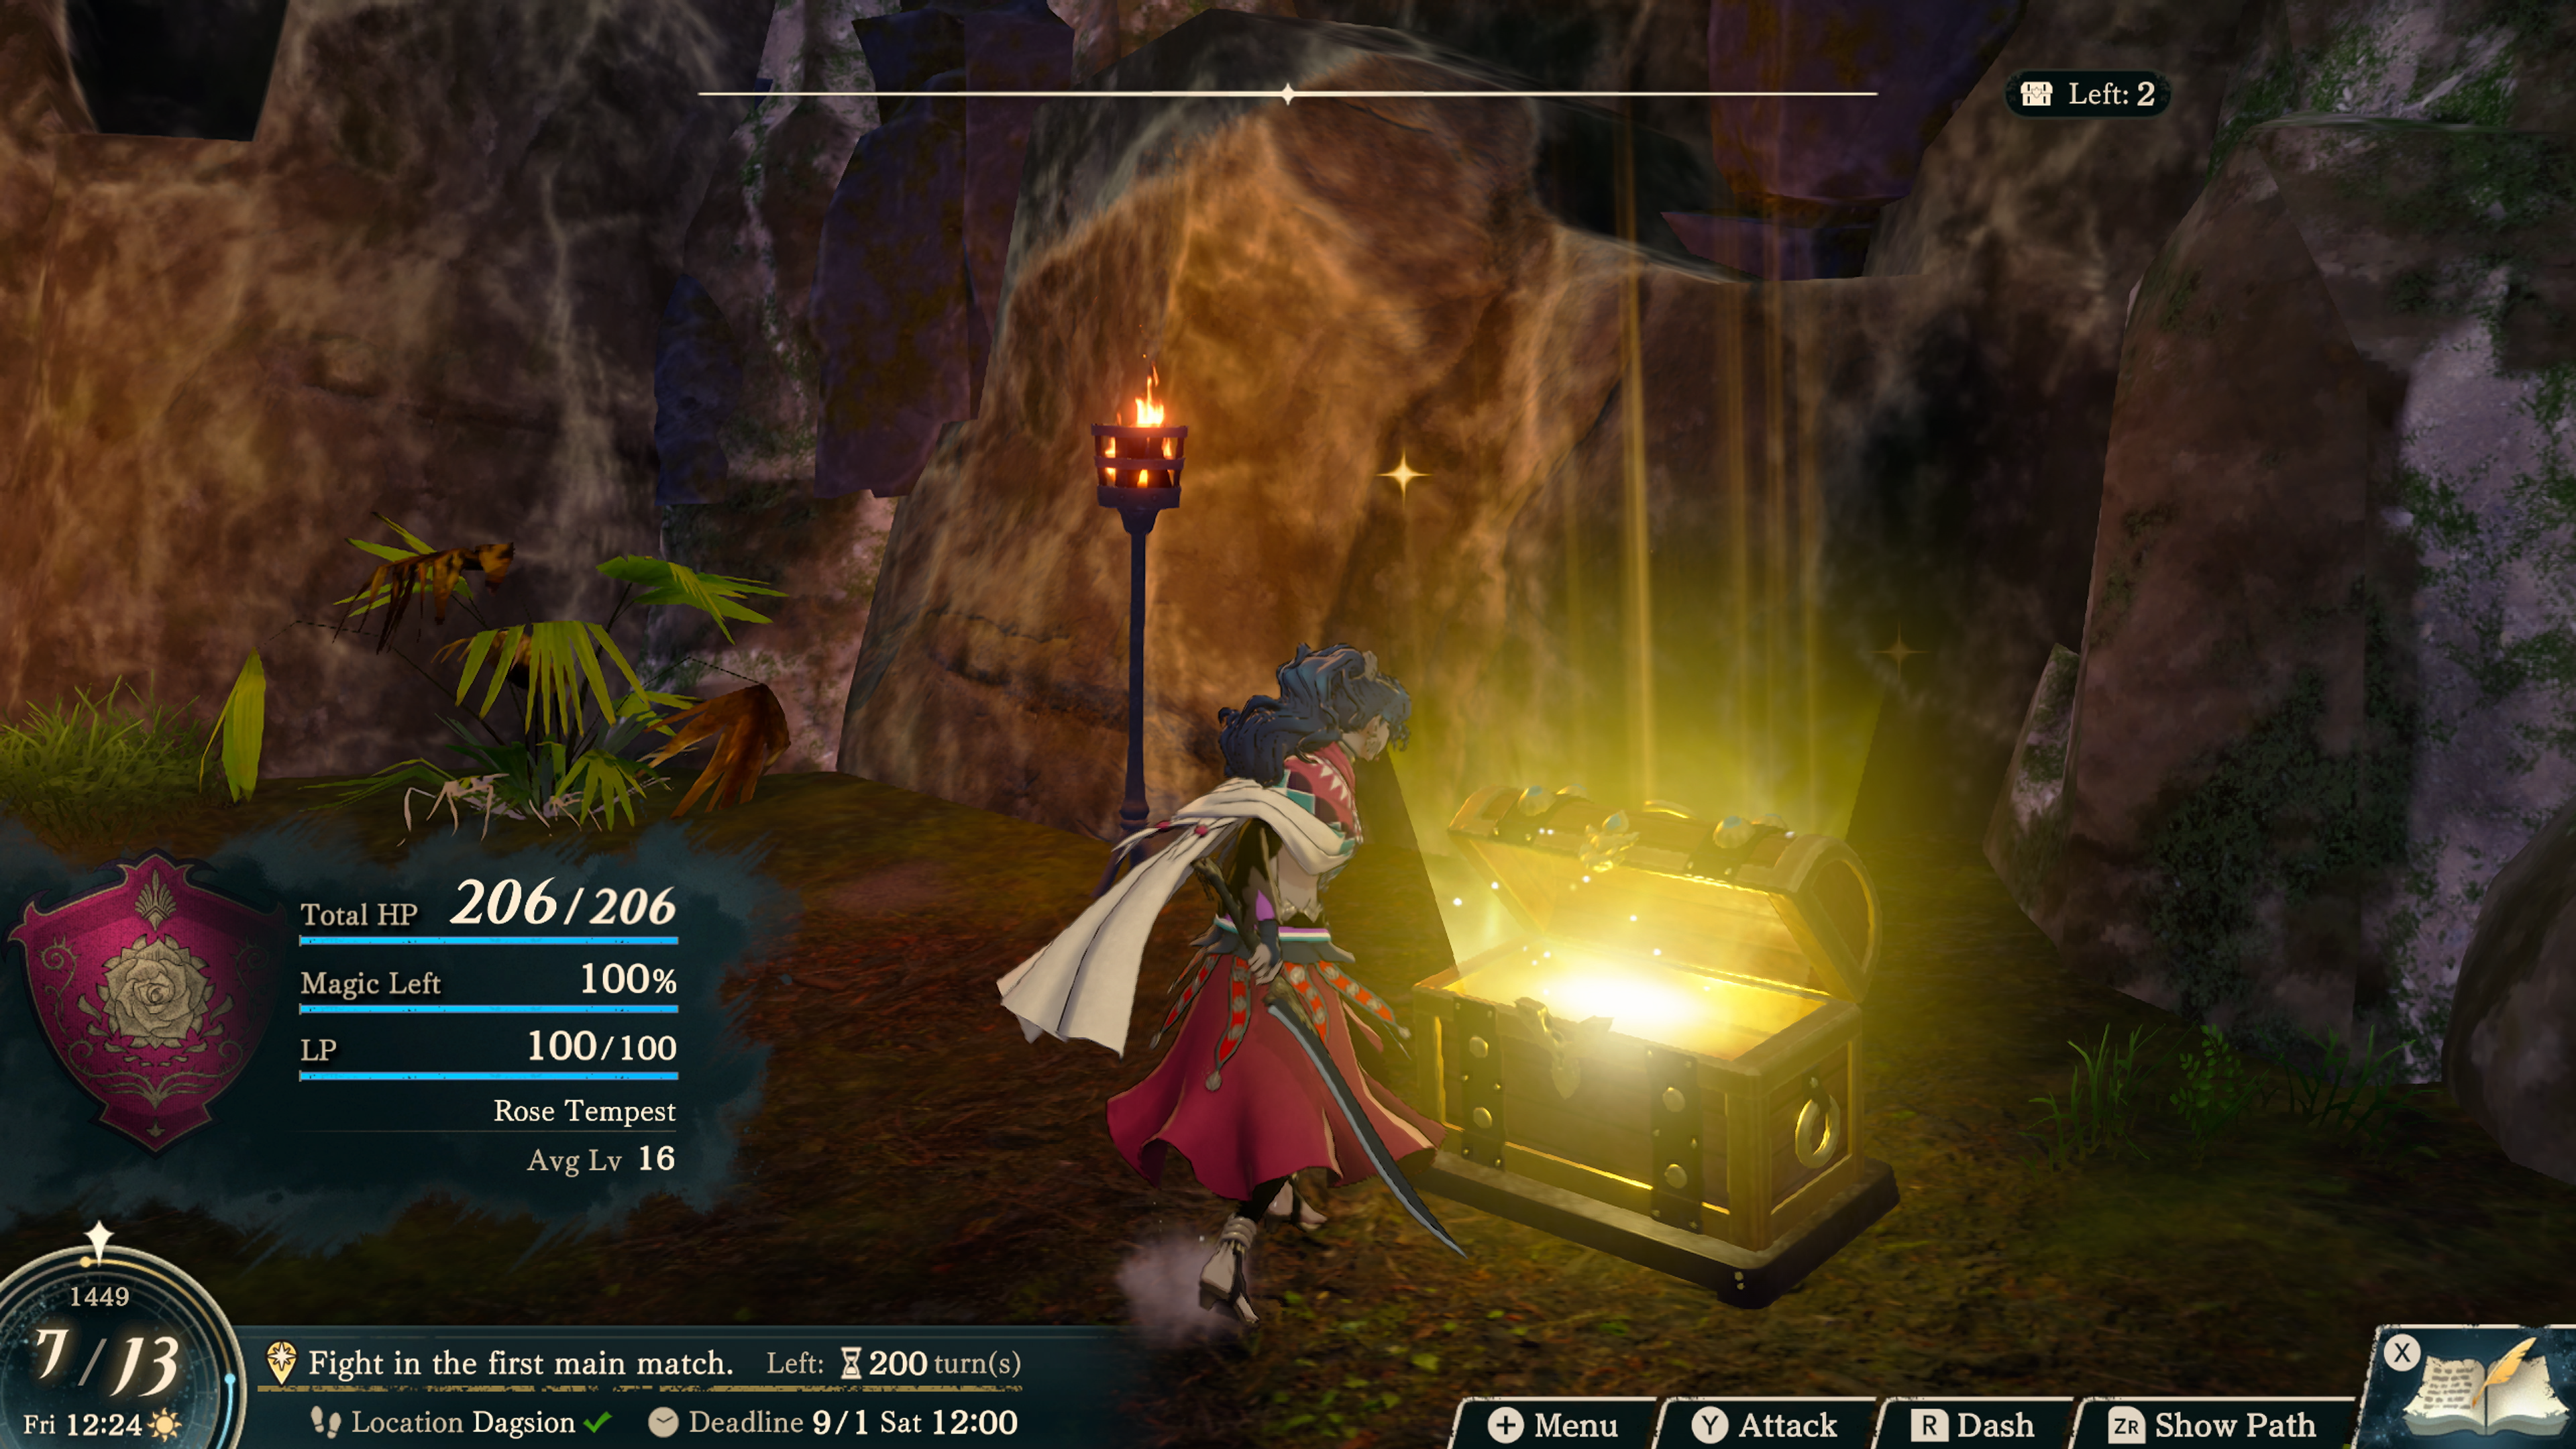
- In dungeons, you'll pick up to five characters for your exploration party.
- You can press Y to get a preemptive strike on an enemy, or to destroy barrels, crates, and crystals.
- Make sure the "Show Path" option is selected with ZR. This makes it easier to see where you have been.
- Each dungeon has one Rest Spot. You can use this to make food to replenish HP and Magic (but not LP). Each character will heal by the HP sum of the items selected, as well as Magic uses if they are a magic user.
- Tip: Check the state of your party before using a rest spot so you know how much HP you need to heal.
- In this dungeon, however, it is unlikely you'll need to heal.
- If a dungeon has a back entrance, you'll see an Uncharted symbol in the top right corner.
- Break every box and crystal you see for items. While there are certain food and smithing items that can be found in certain dungeons, what you actually get during any given exploration is random.
- Sometimes other common items can be found, like Thry Fruit or Roca, even though these are not listed with the dungeon info in-game.
- Each dungeon will have a certain number of treasure chests, listed in the upper right corner. Unlike the collectable items, chests always have the same contents.
- We list the chest items for each dungeon in the list below.
- While dungeons do not have an enemy counter similar to the chest counter, the game will still tell you when all the foes have been defeated with a pop-up screen. If you haven't seen this pop-up, there is at least one enemy group remaining.
- Dungeon enemies will reset every chapter.
- Links in Clash Battles cost LP, which is not easily replenished in dungeons. Generally, you'll want to save it for more difficult encounters.
- Tip: If you are playing on Standard difficulty, consider holding + to have the game 'Skip to Conclusion'. Assuming you aren't in a dungeon far above your level, you'll usually be fine. In the case one of your characters does die, you'll immediately be given the option to restart the battle.
List of all Dungeons in Fire Emblem: Fortune's Weave
Note: All dungeons are a source of Warrior's Soulstones in Part III
Wandering Wood
- Region: Saveilon
- Part I Ideal Level: N/A
- Part I Chests: Verdant Gem
- Part III Chests: Victory Gem
- Ore Info: Venomstone, Spellshard
- Note: Theodora cannot access this dungeon in Part I until Chapter 9 due to story reasons.
Niraga Mine
- Region: Amalthea
- Part I Ideal Level: 5
- Part I Chests: Coin, Miracle Gem, Coin, White-Magic Manual
- Part III Chests: Goddess Ring, Giant's Ring, Silver Shield, Elixir
- Ore Info: Smithing Stone, Black-Sand Steel, Blue Snoll
Eastern Passage
- Region: Nysiades
- Part I Ideal Level: N/A
- Part I Chests: None
- Part III Chests: None
- Ore Info: Phlogiston, Agarthium
Coris Mine
- Region: Thaleia
- Part I Ideal Level: 16
- Part I Chests: Vulnerary, Archer's Ring, Large Coin
- Part III Chests: Venin Edge +5, Large Bullion, Giant Shell
- Ore Info: Smithing Stone, Black-Sand Steel, Windstone, Thunderstone, Sunstone
Southern Passage
- Region: Nysiades
- Part I Ideal Level: 25
- Part I Chests: Salamander, Archive Z
- Part III Chests: Black Pearl, Levin Sword +3
- Notes: Only accessible by Dietrich and Theodora in Part I.
- Ore Info: Phlogiston, Agarthium
Galen Fort Ruins
- Region: Idyia
- Part I Ideal Level: 8
- Part I Chests: Wooden Shield, Vulnerary, Hunter's Bow
- Part III Chests: Speedwing, Elixir, Bolt Gem
- Ore Info: Smithing Stone, Black-Sand Steel, Cullet
Northern Passage
- Region: Nysiades
- Part I Ideal Level:
- Part I Chests: Dew of Peace, Phantom Ring*
- Part III Chests: Elixir, Energy Drop
- Ore Info: Phlogiston, Agarthium
- Notes: Only accessible by Theodora in Part I. The Phantom Ring shows up in the dungeon after the story section in Theodora's Chapter 9.
Cindered Road Cave
- Region: Solidus
- Part I Ideal Level: 22
- Part I Chests: Concoction, Conflagrant Gem, Flying Manual
- Part III Chests: Extra Large Bullion, Wander Gem, Secret Book
- Ore Info: Phlogiston, Agarthium
Palace of Sand
- Region: Nysiades
- Part III Chests: Large Bullion, Extra Large Bullion, Giant Shell, Salamander
- Ore Info: Phlogiston, Agarthium
- Note: This is accessed through the Eastern Passage in Part III. It is not available in Part I.
Shadowy Cave
- Region: Lambath
- Part I Ideal Level: 12
- Part I Chests: Coin, Killing Edge, White-Magic Manual, Black-Magic Manual, Coin
- Part III Chests: Large Bullion, Pilum, Large Bullion, Elixir, Secret Book
- Ore Info: Smithing Stone, Black-Sand Steel, Sea-Star Stone, Cullet, Lunar Stone, Umbral Steel
- Note: This dungeon may not be accessible until Dietrich's Paralogue if you are playing on any other protagonist's Part I Path.
Heretics' Cave
- Region: Thaleia
- Part I Ideal Level: 7
- Part I Chests: Dew of Protection, Vulnerary
- Part III Chests: Key of the Diadem, Black Pearl
- Ore Info: Smithing Stone, Black-Sand Steel, Thunderstone, Spellshard
Hundred-Hole Cave
- Region: Pasithea
- Part I Ideal Level: 14
- Part I Chests: Poisonbane Gem, Venin Edge, Bullion
- Part III Chests: Spirit Dust, Healing Staff, Extra Large Bullion
- Ore Info: Phlogiston, Agarthium
Cave Behind the Falls
- Region: Castalia
- Part I Ideal Level: 22
- Part I Chests: Archive B, Bullion, Pure Water
- Part III Chests: Longbow +3, Extra Large Bullion, Scourge Gem
- Ore Info: Phlogiston, Agarthium
Nowah's Cave
- Region: Elektra
- Part I Ideal Level: 10
- Part I Chests: Tactics Manual, Luxury Veg. Crate, Turmoil Mask, Pure Water
- Part III Chests: Large Bullion, Fistbreak Amulet, Goddess Icon, Killing Edge +3
- Ore Info: Smithing Stone, Black-Sand Steel, Sea-Star Stone, Sunstone
Enno Isle
- Region: Danann Sea
- Part I Ideal Level: 24
- Part I Chests: Bullion, Healing Staff, Short Axe
- Part III Chests: Key of the Diadem, Spirit Gem, Large Bullion
- Ore Info: Smithing Stone, Sea-Star Stone, Windstone, Cullet, Blue Smoll
- Note: Only Theodora can access this dungeon in Part I.
Valhalla Mine
- Region: Saveilon
- Part I Ideal Level: 20
- Part I Chests: Large Bullion, Antitoxin, Azaga's Bow
- Part III Chests: Large Bullion, Ridersbane +3, Speedwing
- Ore Info: Smithing Stone, Wootz Steel, Blue Snoll
Uncharted Isle
- Region: Lir Sea
- Part I Ideal Level: 30
- Part I Chests: Anguishing Shield, Thick Foreign Tome
- Part III Chests: Talisman, Archive T
- Ore Info: Sea-Star Stone, Blue Snoll
- Note: Only Theodora and Dietrich can access this dungeon in Part I. Theodora can access this dungeon at any time, while Dietrich can only visit in Chapter 8.
Nemea Cavern
- Region: Pasithea
- Part I Ideal Level: 30
- Part I Chests: Heavy-Armor Manual, Elixir, Hammer, Sturdy Rucksack
- Part III Chests: Elixir, Secret Book, Ji +3, Extra Large Bullion
- Ore Info: Smithing Stone, Thunderstone, Nemearite, Umbral Steel
Cougar Woodlands
- Region: Braxithea
- Part I Ideal Level: 23
- Part I Chests: Muen (spear), School Scandal, Bullion, Bullion
- Part III Chests: Key of the Diadem, Swordbreak Amulet, Giant's Ring, Spirit Dust
- Ore Info: Venomstone, Winsdstone, Lunar Stone, Spellshard
Rubess Forest
- Region: Melias
- Part I Ideal Level: 9
- Part I Chests: Healing Staff, Riding Manual, Lucky Coin
- Part III Chests: Seraph Robe, Charm Mask, You Sou Fu +2
- Ore Info: Venomstone, Umbral Steel
Masked Woods
- Region: Melias
- Part I Ideal Level: 15
- Part I Chests: Heavy-Armor Manual, Venin Bow, Veroquine (Sword)
- Part III Chests: Greatsword +1, Talisman, Spirit Dust
- Ore Info: Venomstone, Wootz Steel, Lunar Stone
Fort Hayn
- Region: Braxithea
- Part I Ideal Level: 18
- Part I Chests: Dew of Peace, Axebreak Amulet
- Part III Chests: Flyssa +2, Black Pearl
- Ore Info: Smithing Stone, Thunderstone
Collapsed Fort
- Region: Amalthea
- Part I Ideal Level: 6
- Part I Chests: Bowbreak Amulet, Black-Magic Manual
- Part III Chests: Large Bullion, Energy Drop
- Ore Info: Smithing Stone, Black-Sand Steel, Windstone
Sand-Shadow Fort
- Region: Nysiades
- Part I Ideal Level: 23
- Part I Chests: Gundogya (Axe), Large Bullion, Concoction
- Part III Chests: Key of the Diadem, Nullwind Gem, War Bow +3
- Ore Info: Smithing Stone, Venomstone, Cullet, Umbral Steel
- Note: A Giant can always be found in this dungeon, if you are looking for Giant's Meat.
Stoppered Shrine
- Region: Idyia
- Part I Ideal Level: 25
- Part I Chests: Flower Painting, Velheit (Axe)
- Part III Chests: Scourge Gem, Hexlock Shield
- Ore Info: Venomstone, Windstone, Lunar Stone, Umbral Steel
Dione Fort
- Region: Castalia
- Part I Ideal Level: 18
- Part I Chests: Flying Manual, Concoction, Dual Fish Knives, Hexlock Shield
- Part III Chests: Tactics Manual, Challenge Gem, Large Bullion, Windfire Rings
- Ore Info: Smithing Stone, Windstone, Thunderstone
Corroios Fort Ruins
- Region: Thaleia
- Part I Ideal Level: 13
- Part I Chests: Tactics Manual, Magic Staff, Poisonbone Chain
- Part III Chests: Horsekiller Bow +2, Large Bullion, Talisman
- Ore Info: Smithing Stone, Black-Sand Steel, Sunstone
Dragonbone Tangle
- Region: Nysiades
- Part I Ideal Level: 20
- Part I Chests: Hunter's Ring, Hexlock Shield, Lucky Coin
- Part III Chests: Seraph Robe, Large Bullion, Extra Large Bullion
- Ore Info: Smithing Stone, Sunstone, Lunar Stone, Agarthium
Beast's Path
- Region: Braxithea
- Part I Ideal Level: 20
- Part I Chests: Concoction, Poisonhunt Gem, Bullion
- Part III Chests: Tactics Manual, Giant Shell, Zanbato +2
- Ore Info: Smithing Stone, Thunderstone, Wootz Steel, Umbral Steel
Aditi's Cave
- Region: Nysiades
- Part I Ideal Level: 28
- Part I Chests: Large Bullion, Archive L, Spirit Board
- Part III Chests: Tactic's Manual, Hunter's Bow +3, Spirit Dust
- Ore Info: Smithing Stone, Black-Sand Steel, Cullet, Lunar Stone, Spellshard
Iapetus Cavern
- Region: Solidus
- Part I Ideal Level: 32
- Part I Chests: Archive θ, Black-Magic Manual
- Part III Chests: Seraph Robe, Silver Shield
- Ore Info: Smithing Stone, Black-Sand Steel, Venomstone, Sunstone, Lunar Stone, Blue Snoll
Giant's-Print Fort
- Region: Ogmios
- Part I Ideal Level: 35
- Part I Chests: Onoa (Spear), Elixir, Advanced License
- Part III Chests: Speedwing, Sacred Gem, Key of the Diadem
- Ore Info: Smithing Stone, Venomstone, Thunderstone, Lunar Stone, Spellshard